How to Upcycle a T-Shirt Into a Tunic
T-shirts are a wardrobe basic. They're comfortable, versatile, and can be dressed up or down. But after a while, they can start to feel a little boring. If you're looking for a way to spice up your t-shirt collection, turn them into DIY upcycled tunic t-shirts!
With just a few simple steps, you can transform an old t-shirt into a new tunic that you'll love to wear. This is a great way to help the environment, your wallet, and to make sustainable, circular fashion choices!
This post does contain some affiliate links which means The Honest Consumer may receive a commission if you decided to purchase. Our commission is at no additional expense to you!
How to DIY a T-Shirt Tunic
This craft is a great idea for all ages (though younger crafters will need help with the scissors or the sewing machine). Easy ways to repurpose old tees in a new way is so fun.
So grab some old shirts and let's get started! We’ve listed out steps below, but feel free to make it your own! If you’re looking for a more visual step by step guide check out this tutorial.
Step 1: Choose A T-shirt That Is In Good Condition
Summer is the perfect time to make DIY tunic t-shirts with an easy craft and your old favorite shirt!
But how can you make sure you're choosing an oversized t-shirt that's in good condition, has no stains or tears and will Upcycle well? Here are a few tips:
Check the tag: A good DIY tunic t-shirt will be made of 100% Cotton. Avoid shirts with a blend of materials, as these will be more difficult to Upcycle.
Inspect the garment: Look for any signs of wear, such as fraying seams or loose threads. These can be easily repaired with a needle and thread. Also, be sure to check for any stains or tears. If the shirt has a lot of wear, it may not be worth Upcycling.
Try it on: Make sure the t-shirt fits well and is comfortable to wear. You don't want to end up with a tunic that's too small or too big!
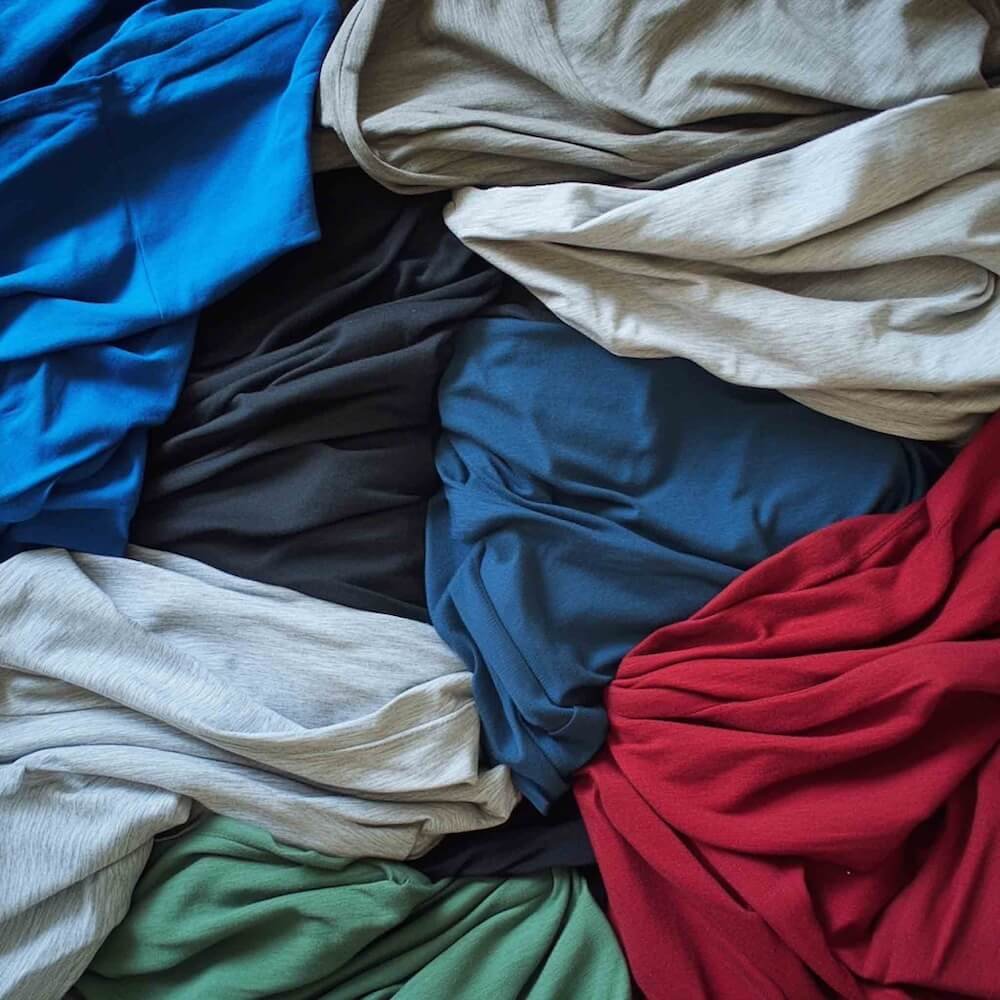
Choose a color: DIY tunic t-shirts come in all sorts of colors, so take your time in choosing the perfect one for you. Consider what colors will go well with your existing wardrobe and make sure to choose a color that you'll love wearing.
Step 2: Cut T-shirt And Turn it Into a Tank Top
You'll probably want a tank top that's a little bit bigger than your actual chest size. Cut the bottom of the shirt off so that it's about an inch or two above your belly button. Once you've cut the shirt, try it on and see if it fits well. If it's too big, you can always trim off more fabric. If it's too small, you might have to start over with a new shirt.
Once you have a tank top that fits well, put on a pair of shorts or pants that are comfortable but not too baggy. You want to make sure it’s comfortable for movement.
Step 3: Sew Cut Fabric Together To Create A Tunic-Style Shirt
You will need:
A sewing machine
The thread that matches your fabric
Scissors
Pins
A measuring tape or ruler
A friend (optional)
A flat surface to work on
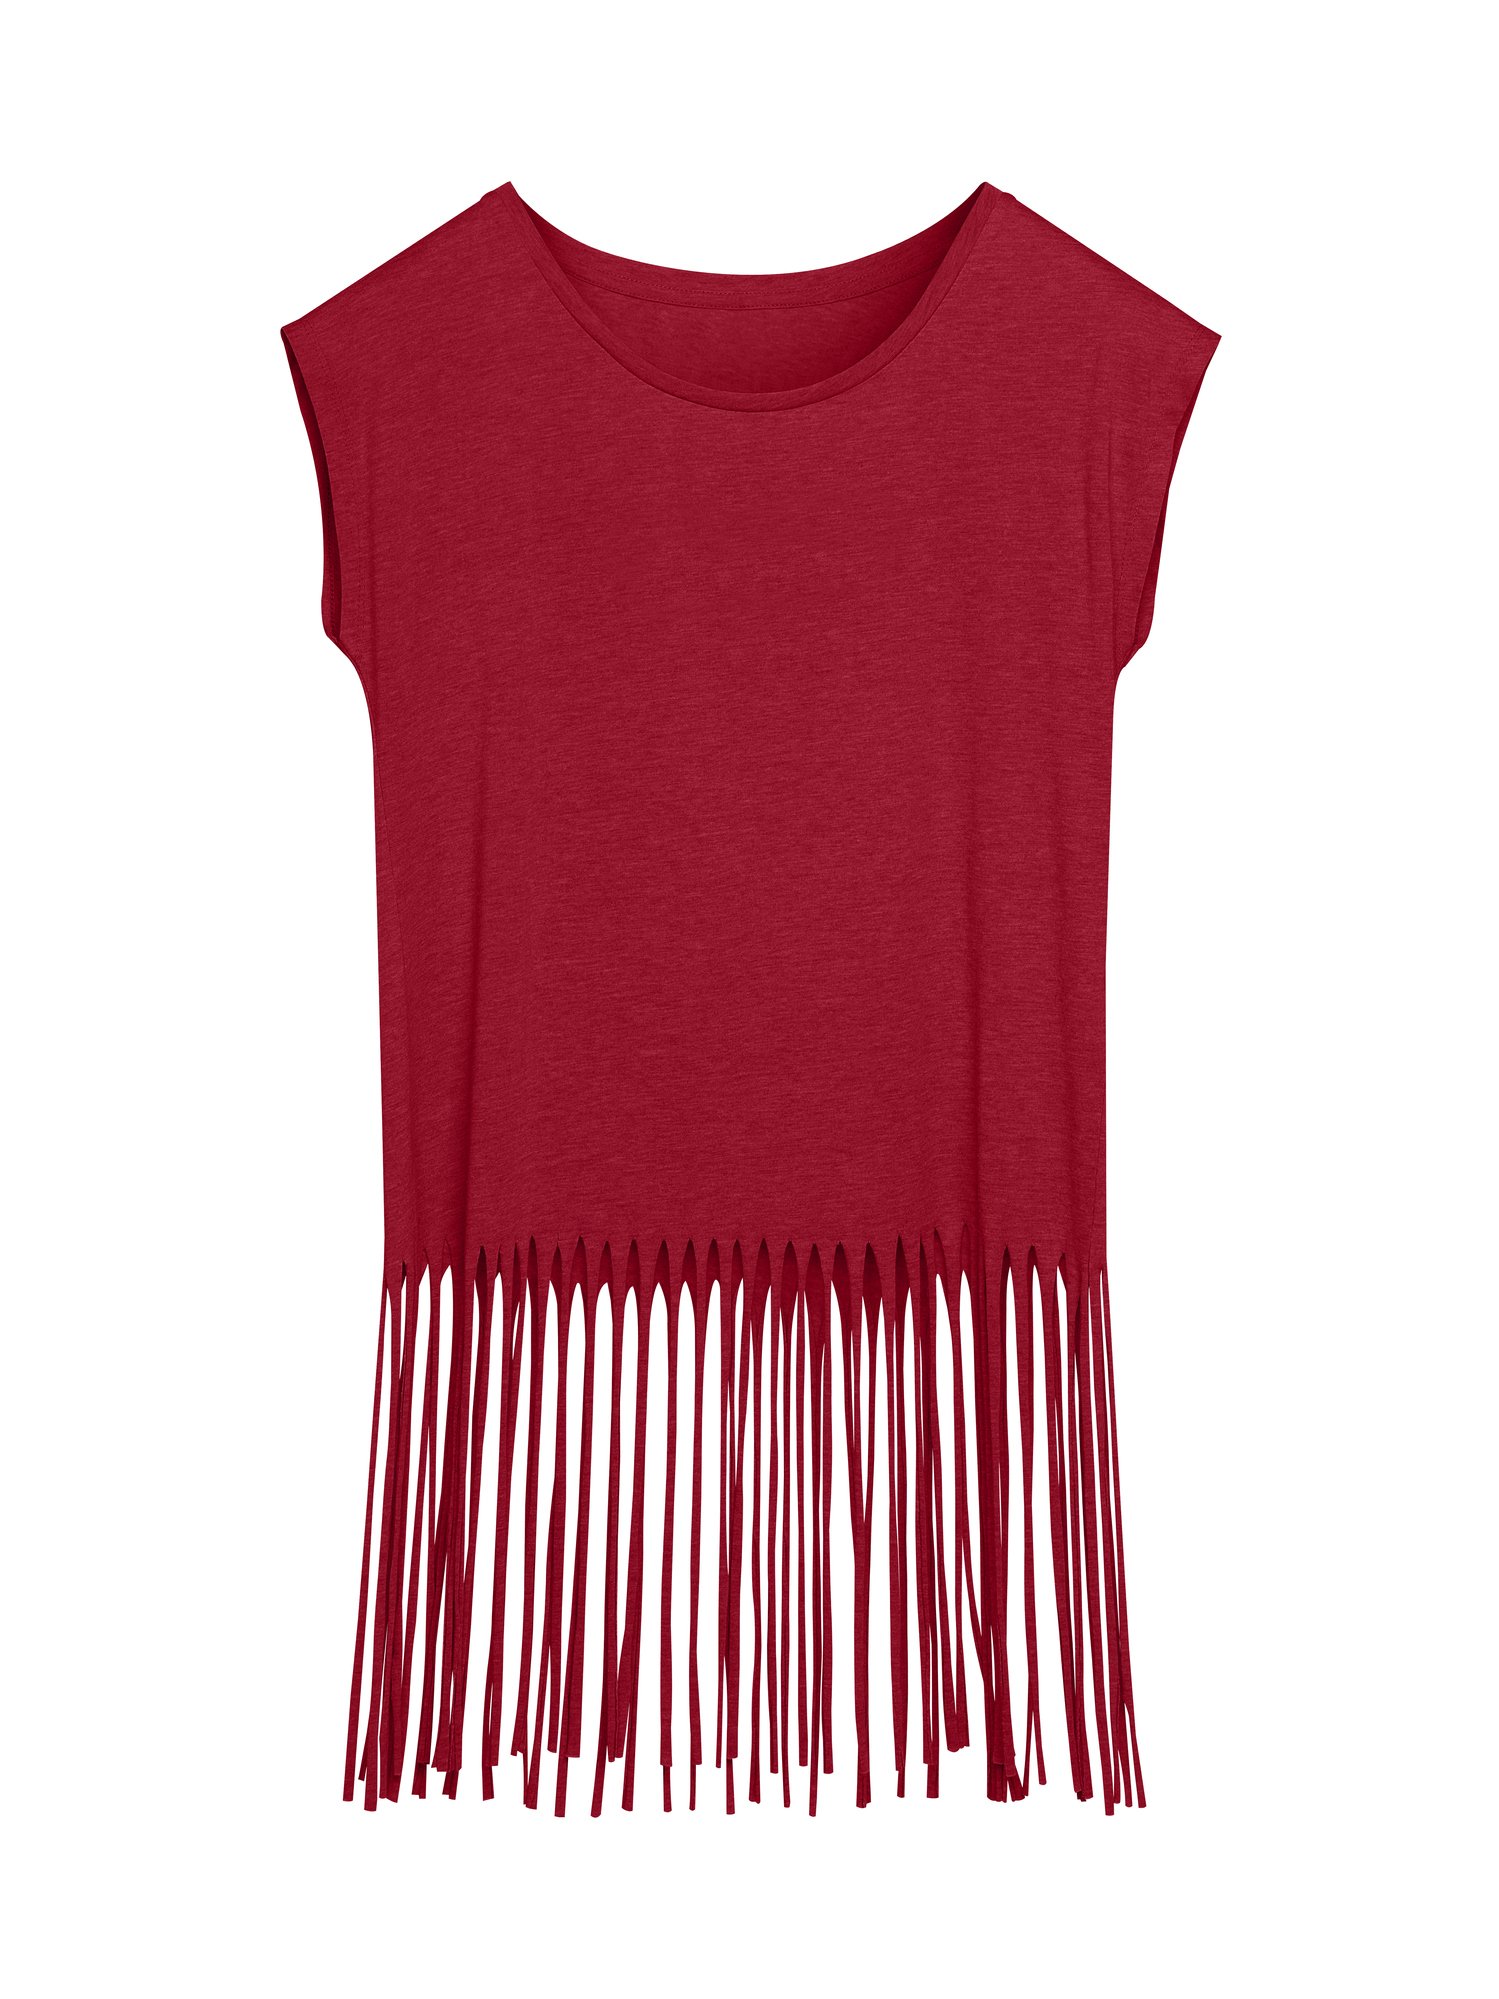
Start by cutting your favorite t-shirt fabric to the desired length you want the strands to attach and hang from from the original tee. I recommend cutting the tunic fabric a few inches above your knees, but you can make it as long or short as you’d like.
You'll definitely want to start with a larger piece. Once you have cut the fabric, use a sewing machine to hem the raw edges. If you don’t have access to a sewing machine, you can hand sew the hems, but it will take much longer.
Next, measure out how wide you want the tunic to be and mark that measurement on the fabric. Cut the fabric along the markings to create your desired width.
Again, hem the raw edges of the fabric to finish the sides of the tunic. If you're nervous about mistaking measurements, you can make a pattern from an extra cardboard box to see how it will look before you cut.
If you want to add sleeves to the tunic, cut two rectangles out of your piece of fabric that is twice as wide as your desired sleeve length and about as long as your arm plus an inch or two for seam allowance.
The next step is to fold each rectangle in half length-wise and sew along the side and bottom edges, leaving the top open. Then, turn each sleeve inside out so that the seams are hidden on the inside of the sleeve.
Finally, attach each sleeve to the tunic by sewing them into place at the shoulder seams.
Step 4: Hem The Bottom Edge Of The Tunic
To hem the bottom edge of the tunic, fold up the fabric twice so that the raw edge is hidden. Pin in place, then sew using a straight stitch. Repeat for the other side. Trim any excess threads and you're done!
Step 5: Add Some Decorative Stitching Or Lace Around The Neckline
Now that you've finished the bottom hem, it's time to move on to the neckline. Add a unique touch to the neckline with decorative stitching or lace.
Start by pinning the trim in place around the neckline of the tunic. Sew using a straight stitch, then trim any excess threads. Repeat for the other side and you're all done!
Step 6: Add a Patch or Embroidery The Front Of The Shirt
This is a great way to personalize a store-bought shirt or add some pizzazz to an old favorite. Purchase an iron on patch from Etsy and get to ironing!
Be sure to follow the instructions on the patch so you don’t overheat the patch. You could also add some custom embroidery such as flowers, meaningful words, or a design that speaks to you.
Wear Your New Upcycled Tunic With Pride!
You'll love how it looks and feels, and you'll be glad you didn't spend a lot of money on it. Upcycled fashion is always in style!
Now that you know how to add a little flair to an old shirt, get creative and try it out on other items like jeans, bags, or even curtains! The possibilities are endless. Upcycling is a great way to breathe new life into tired clothes and home decor.
Get creative with your fabric choices and have fun experimenting with different styles. With just a little bit of effort, you can create stylish and unique clothing pieces that will set you apart from the rest.
If you have a ton of old tshirts from when you were a kid that you want to hang onto but not put in storage, upcycling them into useable items is a great way to cherish those old clothes
Remember, you can put those fabric scraps to good use with some of the fun crafts and creative ideas out there! There are so many different ways to make custom clothes and to repurpose and reuse smaller t-shirts, your favorite high school t-shirts, and everything in between.
Want more ideas to upcycle your old shirts?
You can make a t-shirt quilt into a memory blanket from your childhood shirts, you can make t-shirt bracelets and swap with friends. There are also simple step instructions for reusable bags so that you can skip the plastic bags and repurpose old t-shirts.
The knit fabrics may stretch a bit, but any if you have a graphic tee that can make an eye-catching t-shirt bag! You can make a t-shirt pillow out of a loved one's shirt you may have lost or as homemade gifts for friends and families for the holidays. There are so many fun DIY crafts out there that are also meaningful.
For more tips & tricks on sustainable living be sure to follow The Honest Consumer on social media, subscribe to our newsletter, & check out the Ethical & Sustainable Brand Directory.


